The Quest for Perfect Cut-Out Sugar Cookies: A No-Spread Promise
There's a unique magic to a beautifully decorated, perfectly shaped sugar cookie. Whether it's for a holiday celebration, a birthday party, or just a Tuesday that calls for a little sparkle, achieving those crisp, defined edges without any dreaded spreading can feel like the ultimate baking triumph. Many home bakers embark on the journey of a cut out sugar cookie recipe, only to be met with disheartening splotches and distorted shapes fresh from the oven. The good news? Crafting flawless, no-spread sugar cookies is entirely within your reach, and it’s simpler than you might think with the right techniques and a robust recipe.
This comprehensive guide will walk you through every critical step, offering insights and pro tips to ensure your sugar cookies maintain their shape, bake up tender on the inside, and boast that delightful slight crunch on the outside. Forget sacrificing flavor for form – these cookies are designed to be as scrumptious as they are stunning, ready for any decorative flourish you envision.
Building Your Masterpiece: Essential Ingredients and Their Roles
The foundation of any great cookie lies in its ingredients, and cut-out sugar cookies are no exception. While the list might seem simple, the quality and temperature of each component play a pivotal role in preventing spread and achieving that perfect texture. Our recipe strikes a delightful balance, reminiscent of a classic shortbread but with the inherent charm of a sugar cookie.
The Core Lineup:
- Unsalted Butter: This is the heart of your cookie. Always opt for unsalted so you can control the salt content precisely. Crucially, your butter must be at room temperature – not melted, not cold, but pliable enough that your finger leaves an indentation easily. Butter that is too soft or greasy will incorporate too much air, leading to excessive spread.
- White Granulated Sugar: Beyond sweetness, sugar contributes to the cookie's tender crumb and a subtle crispness on the edges. Pay attention to the crystal size; unusually large sugar crystals can sometimes prevent even creaming, potentially affecting dough consistency. Standard granulated sugar is ideal.
- Egg: Acts as a binder, adding richness and moisture. Like butter, your egg should be at room temperature to emulsify properly with the creamed butter and sugar, ensuring a smooth, cohesive dough.
- Vanilla Extract: The soul of a classic sugar cookie! Don't skimp on good quality vanilla. For extra depth, consider a blend of vanilla and almond extract, or experiment with lemon zest, orange zest (as loved by many for its brightness), or other flavorings to personalize your batch.
- All-Purpose Flour: The primary structural component. Sifting your flour along with other dry ingredients helps aerate it and prevents lumps, ensuring even distribution in the dough.
- Baking Powder (Optional): This leavening agent can provide a slight lift and a softer chew. For ultra-crisp, super-flat cookies perfect for intricate decorating, some bakers omit it entirely. If you prefer a subtle puffiness and tender interior, include it. Adjusting the amount slightly can impact the final texture, so refer to the specific recipe details.
- Salt: Essential for balancing the sweetness and enhancing all the other flavors. Don't skip it!
Pro Tip: Bringing butter and eggs to room temperature correctly takes time. Plan ahead by placing them on the counter about 30-60 minutes before you begin baking. Avoid microwaving butter, as it can soften unevenly and become too warm, compromising your cookie dough's stability.
From Dough to Disk: Mastering the Sugar Cookie Foundation
The process of making the dough is where you truly lay the groundwork for no-spread success. Precision and attention to detail at each stage are paramount.
Step-by-Step Dough Creation:
- Creaming Butter and Sugar: This is a critical step. Begin with your perfectly room-temperature unsalted butter. Cream it with the granulated sugar in a stand mixer fitted with a paddle attachment (or with a hand mixer) on medium speed. Beat until the mixture is light, fluffy, and noticeably paler in color. This process incorporates air, which contributes to the cookie's texture. Remember, butter that is too soft at this stage will hinder proper aeration and can exacerbate spreading in the oven. Aim for a texture that's like soft-serve ice cream, not melted.
- Incorporating Wet Ingredients: In a separate small bowl, whisk your room-temperature egg with the vanilla extract (and any other liquid flavorings). Gradually add this mixture to the creamed butter and sugar, mixing on low speed until just combined. Scrape down the sides of the bowl to ensure everything is incorporated. Overmixing here can also introduce too much air.
- Adding Dry Ingredients: In another bowl, sift together your flour, salt, and baking powder (if using). Sifting prevents lumps and helps distribute the ingredients evenly. Gradually add this dry mixture to the wet ingredients, mixing on the lowest speed until the flour is almost fully incorporated. Stop mixing when the dough is still in large, shaggy chunks – it won't be a smooth ball yet.
- Bringing the Dough Together: Turn the shaggy dough out onto a clean, lightly floured surface. Gently gather and knead it for just 10-20 seconds until it comes together into a cohesive ball. Avoid overworking the dough, as this develops gluten, leading to tougher cookies. Once formed, flatten the dough into a disk. This shape is ideal for chilling and makes rolling out much easier.
Baker's Insight: The gentle kneading helps bring the dough to the perfect consistency without activating too much gluten. The goal is just enough to form a disk that won't crumble.
The Chill Factor: Unlocking No-Spread Perfection
If there's one secret weapon in your no-spread arsenal, it's chilling the dough. This step is non-negotiable for perfectly shaped cut-outs.
Rolling and Chilling Techniques:
Many experienced bakers swear by chilling the dough *after* it's been rolled out, and for good reason:
- Even Rolling: Place your dough disk onto a piece of parchment paper or a silicone baking mat. Lay another sheet of parchment or silicone mat on top. To achieve uniform thickness, use rolling guides (also known as dough strips). These are typically 1/4-inch (0.64 cm or a little over 6mm) thick. Roll your rolling pin across the top parchment, allowing the guides to control the dough's thickness. This ensures every cookie bakes evenly and prevents thin spots that can burn or thick spots that bake inconsistently.
- The Critical Chill: Once rolled to your desired thickness, slide the entire sheet of dough (still between the parchment/mats) onto a cutting board or baking sheet. Cover it tightly with plastic wrap or a kitchen towel to prevent drying out. Chill in the refrigerator for a minimum of 1 to 4 hours. Ideally, aim for at least 2 hours for optimal firmness. You can even chill it for up to 24 hours. The chilling process is vital because it firms up the butter within the dough, preventing it from melting too quickly in the oven and causing the cookies to spread. It also allows the gluten to relax, which contributes to a more tender cookie.
- Chilling a Disk: While rolling and then chilling is often preferred, you can also chill the dough disk directly. Wrap it well in plastic wrap and refrigerate for up to 3 days. Be aware that a thoroughly chilled disk can become quite hard and may require a few minutes at room temperature before it's pliable enough to roll out without cracking.
Why Chilling Matters: Cold dough equals stable dough. When cold butter hits the heat of the oven, it takes longer to melt, allowing the cookie's structure to set before significant spreading can occur. This is truly the key to maintaining those sharp, intricate shapes. For an even deeper dive into this crucial step, check out Master Cut-Out Sugar Cookies: Chilling & Butter Secrets.
Baking Bliss: Cutting, Baking, and Beyond
With your perfectly chilled and rolled dough, you're just a few steps away from gorgeous, no-spread cookies.
Cutting and Transferring:
- Cutting Shapes: Remove your chilled dough sheet from the refrigerator. Using your favorite cookie cutters or templates, cut out your desired shapes. For clean cuts, press straight down and avoid twisting the cutter.
- Re-Rolling Scraps: Gather any dough scraps, gently press them together into a new disk, and roll out again. If the re-rolled dough feels warm or soft, chill it again briefly before cutting. Avoid re-rolling too many times, as it can develop gluten and lead to tougher cookies.
- Gentle Transfer: Carefully lift each cut-out using a thin spatula or your fingers and transfer it onto a parchment-lined baking sheet. Space them about 1-2 inches apart to allow for any minimal expansion.
- The Pre-Bake Chill (Optional, but Recommended): If your kitchen is warm or the cut-outs have softened during the cutting and transferring process, pop the entire baking sheet with the cut-out cookies back into the refrigerator for another 10 minutes. This extra chill is a powerful safeguard against spreading.
Baking for Perfection:
- Oven Temperature: Preheat your oven to 350-375°F (180-190°C). The slightly higher temperature helps set the cookie structure quickly.
- Baking Time: Bake for 9-11 minutes, depending on your oven and cookie size. Look for cookies with firm, slightly golden edges and centers that appear set but still pale. Avoid overbaking, which can lead to dry, hard cookies.
- Cooling: Allow the cookies to cool on the baking sheet for 5-10 minutes before carefully transferring them to a wire rack to cool completely. This prevents breakage and allows the cookies to fully firm up.
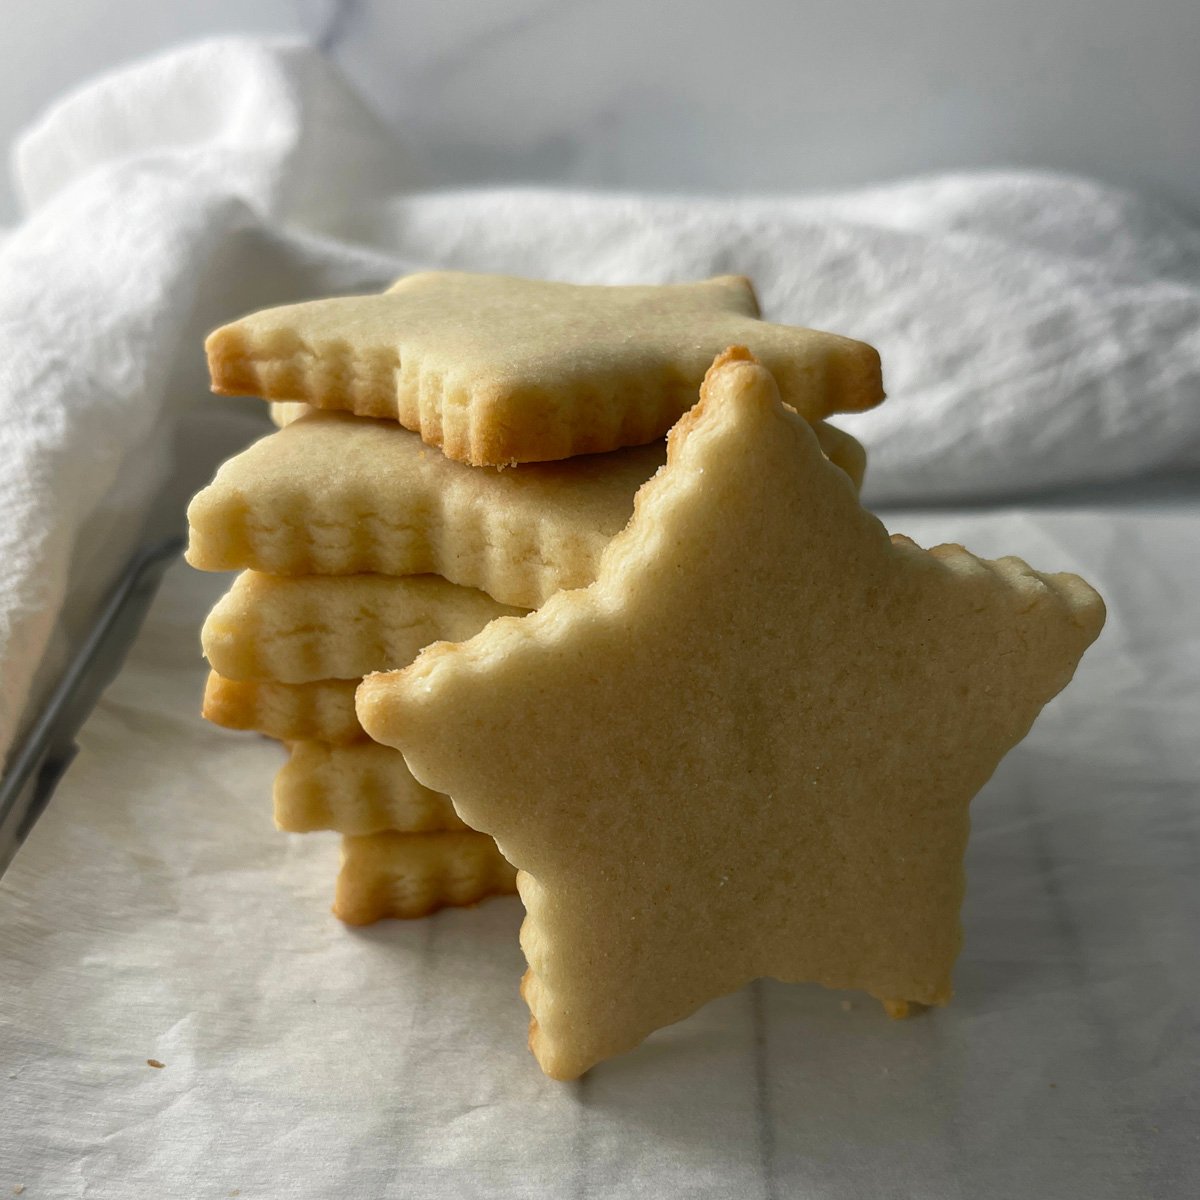
Once cooled, your perfect no-spread cut-out sugar cookies are ready for decorating with royal icing, buttercream, or simply enjoyed plain. The tender interior and crisp edges are a testament to the care taken at each stage of this classic cut out sugar cookie recipe.
Conclusion
Achieving perfect no-spread cut-out sugar cookies is a truly rewarding endeavor that transforms a simple baking project into a creative masterpiece. By paying close attention to ingredient temperatures, mastering the creaming process, understanding the critical role of chilling your dough, and baking precisely, you can consistently produce cookies that hold their intricate shapes beautifully. This detailed cut out sugar cookie recipe, honed over years, provides the framework for consistent success, allowing your decorating ambitions to truly shine. So gather your ingredients, follow these steps, and prepare to delight in batch after batch of picture-perfect, melt-in-your-mouth sugar cookies.
